
Setup DNS Templates in Webuzo streamlines domain management by creating reusable configurations for DNS zones. This is particularly useful if you’re hosting multiple domains that require consistent DNS settings, like similar A records, MX records, or name server configurations. Webuzo provides an easy way to set up and manage these DNS templates, allowing for quick application across multiple domains.
Table of Contents
Step 1: Accessing the Webuzo Admin Panel
Start by logging into the Webuzo Admin Panel. Access requires administrator credentials, so be sure to have those on hand. The Webuzo Admin Panel provides a centralized location for managing domains, SSL, DNS, and other essential hosting configurations.

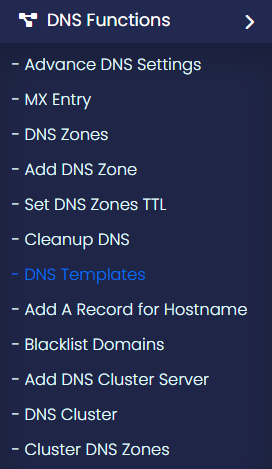
Step 2: Navigating to DNS Templates
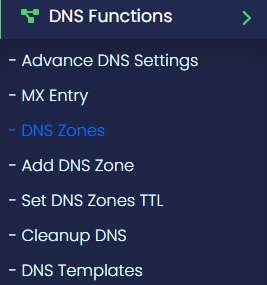
In the Admin Panel, navigate to the DNS section and select DNS Templates. Here, you’ll find options to create new DNS templates or modify existing ones. DNS templates are essentially pre-configured sets of DNS records that can be applied to multiple domains. These templates help reduce manual input and standardize domain setups across multiple sites, which can improve consistency and reduce the chance of errors.
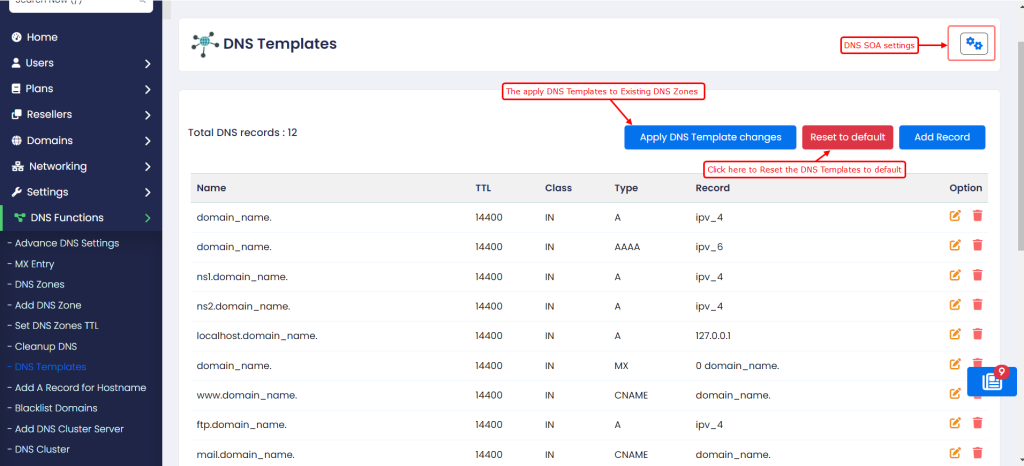
Step 3: Setup DNS Templates in Webuzo
Creating a DNS template in Webuzo involves defining the DNS records you’ll commonly use across domains. Follow these steps:
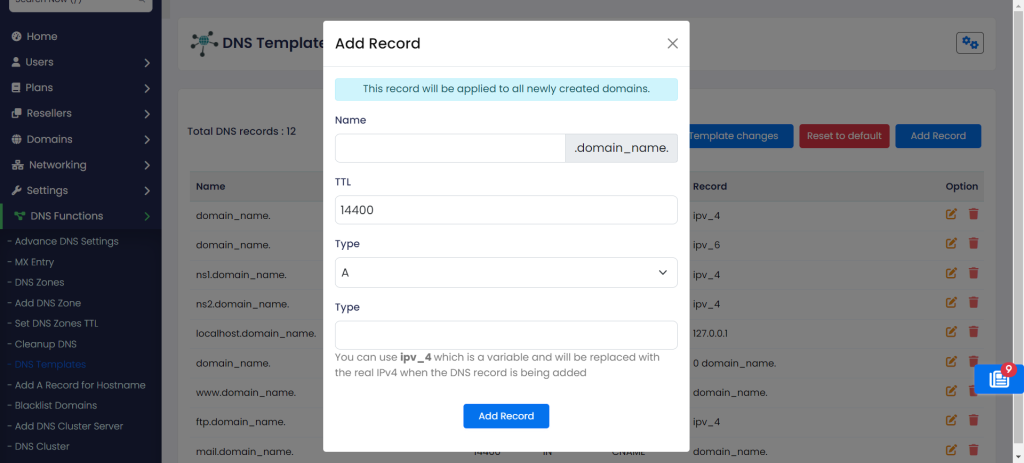
- Click on “Add DNS Template”: Start by selecting “Add DNS Template” in the DNS Templates section.
- Define Template Name: Give the template a descriptive name that makes it easy to identify, especially if you have multiple templates for different purposes. For example, you might name it “Corporate Template” if it’s used for company domains or “Blog Template” if it’s for blogs.
- Add DNS Records: Add specific DNS record types based on the Setup DNS Templates in Webuzo required. Here are some of the main types you might include:
- A Record: This points the domain or subdomain to a specific IP address. For example, you might set the
@record to point to your server’s IP, which defines where the main domain should go. Additionally, you could addwwwas an A record if you wantwww.yourdomain.comto direct to the same IP. - CNAME Record: Useful for creating aliases, CNAME records map subdomains to other domain names. For instance, if you want
blog.yourdomain.comto redirect toyourdomain.com, you could set up a CNAME forblog. - MX Record: This specifies the mail servers for your domain, allowing you to designate where emails should be routed. Multiple MX records can be set with priority values, directing emails to backup servers if the primary server is unavailable.
- TXT Record: Often used for domain verification, TXT records also include SPF and DKIM records to help prevent email spoofing and improve email deliverability.
- NS Record: Define the authoritative name servers for the domain. This is particularly useful if you manage DNS externally but want Webuzo to be the authoritative zone.
- Save the Template: After setting up the records, click Save. The new DNS template will now be available in the template list, ready for application.
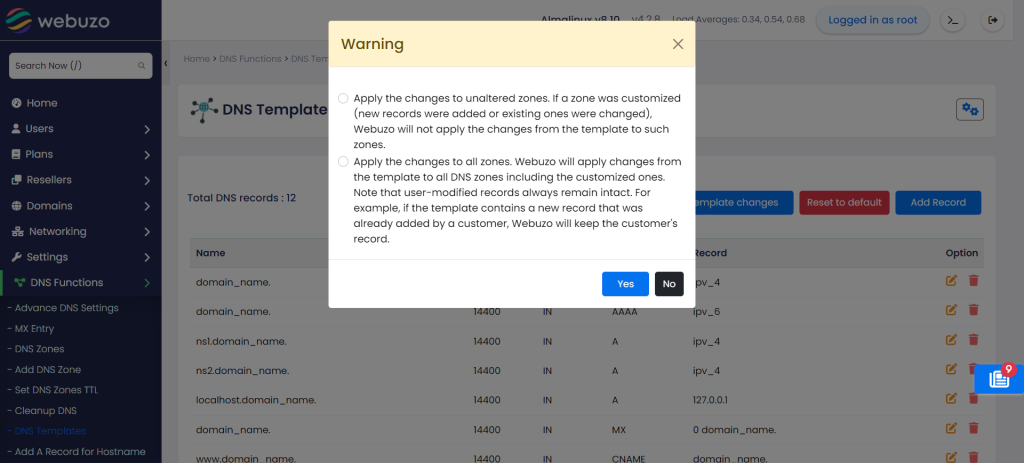
Step 4: Applying DNS Templates to Domains
Once your template is saved, you can apply it to domains in Webuzo with ease. Here’s how:
- Go to the DNS Zones section in the Webuzo Admin Panel.
- Select the domain to which you want to apply the template.
- From the list of DNS templates, choose the one you just created.
- Confirm and save the changes. Webuzo will automatically populate the domain’s DNS records based on the selected template.
Applying DNS templates is a fast way to ensure that all required records are in place, particularly when setting up multiple domains that share the same configuration.
Step 5: Verifying DNS Configuration
After Setup DNS Templates in Webuzo and applying the DNS template, it’s important to verify that the configuration is working correctly. There are various online tools, such as DNS Checker, that allow you to see if your DNS records are propagating correctly. Enter your domain and check to ensure that all the records are resolving as expected. Proper verification helps you catch potential issues early, preventing downtime or email delivery problems.
Benefits and Best Practices
Using DNS templates in Webuzo not only saves time but also ensures consistency across your domains. DNS settings can be complex, and small errors can lead to significant issues. By setting up templates, you minimize the risk of misconfiguration.
When Setup DNS Templates in Webuzo, consider different types of domains you manage. For instance, a corporate domain might need custom MX records and security settings, while a blog could have simpler requirements. This flexibility lets you have multiple templates ready for different types of Setup DNS Templates in Webuzo.
Final Note: Setup DNS Templates in Webuzo, DNS template changes are generally applied to new domains or those you explicitly update with the template. Existing domains with customized DNS records won’t be overwritten unless you manually apply the template. Always double-check MX and A records especially, as incorrect configurations here can lead to email or accessibility issues for your domains.
Using DNS templates effectively in Webuzo enables you to maintain a robust and reliable Setup DNS Templates in Webuzo, ensuring that domains and services remain accessible and perform as expected.