Roundcube Webmail Signatures: How to Create and Customize Them

Adding Roundcube Webmail Signatures is a straightforward process that enhances the professionalism of your emails by automatically appending important details like your name, contact information, or other relevant content at the end of each email you send. A signature saves time, ensures consistency, and serves as a convenient method to share contact details.
Here is a comprehensive guide on how to add a signature to Roundcube Webmail:
Step 1: Logging into Roundcube Webmail
To begin, open your web browser and navigate to the URL for your Roundcube Webmail. Typically, this is provided by your email service provider or IT department, and it could look like something similar to webmail.yourdomain.com or mail.yourcompany.com. If you are unsure of the specific URL, contact your administrator or service provider to obtain the correct link.
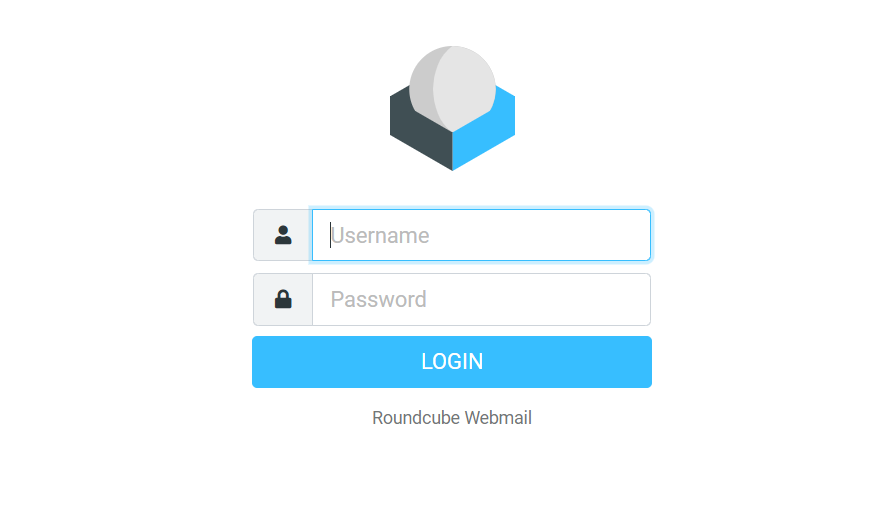
Once you’ve reached the Roundcube login page, enter your email address and password into the designated fields, and click on the Login button. This will take you to your email inbox.
Step 2: Navigating to the Settings Menu
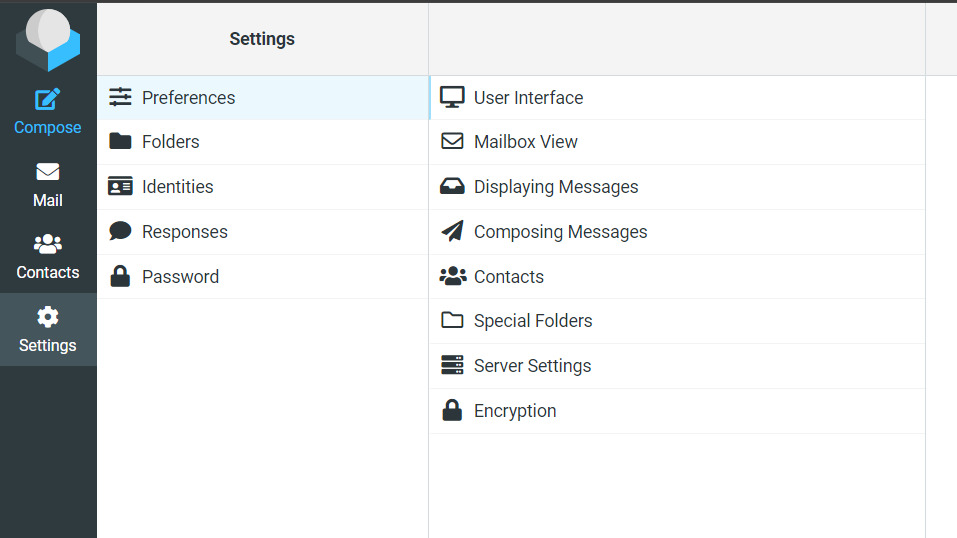
After logging into your Roundcube Webmail account, you will see your inbox with various options in the interface. At the top-right corner of the screen, you should find a Settings button, typically represented by a gear icon. Clicking this icon will take you to the settings page, where you can configure various options related to your account.
Step 3: Accessing the Identities Section
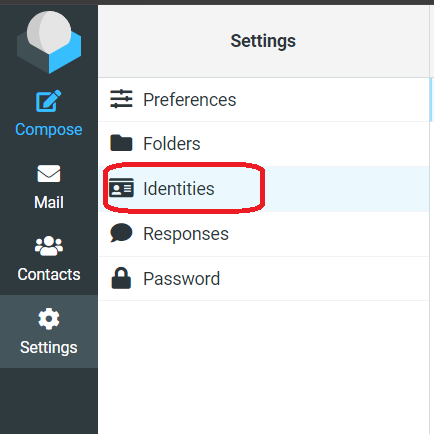
Within the Settings page, you will notice a menu on the left-hand side. From this menu, click on Identities. This section allows you to manage multiple email identities if you have more than one, or it will display the identity associated with the email account you are logged into. Your identity in Roundcube contains settings such as your display name, email address, and signature information.
Step 4: Selecting an Identity
In the Identities section, you will see your current email identity or possibly a list of identities if you manage multiple email addresses from the same Roundcube Webmail interface. Click on the identity for which you want to create or modify a signature.
Once you click on the identity, a form will appear that contains several fields, including your name, email address, and organization, as well as the option to set a signature.
Step 5: Adding Roundcube Webmail Signatures
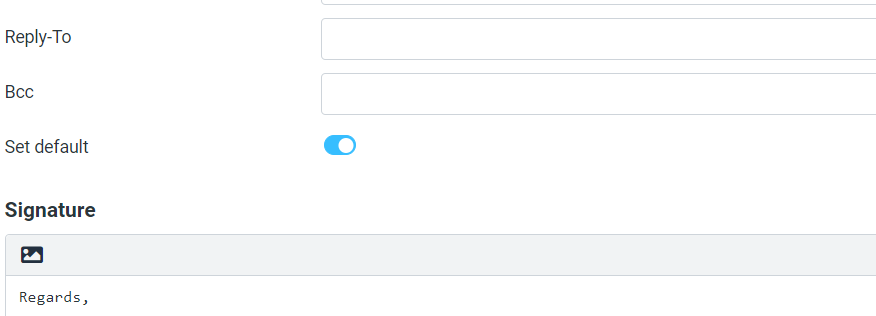
Scroll down the form to locate the Signature field. This is where you can add the content that you want to appear automatically at the bottom of every email you send. The signature field can include various details, such as:
- Your full name.
- Your job title.
- Your company name.
- Phone numbers.
- Email addresses.
- Website URLs.
- Any legal disclaimers or confidentiality notices.
The Roundcube Webmail Signatures also provides the ability to format the text if the HTML Signature option is enabled. This allows you to use bold, italics, different fonts, font colors, and even images, such as your company’s logo, in your signature.
If you prefer to use simple plain text for your signature, you can type the desired text directly into the box. Keep in mind that plain text Roundcube Webmail Signatures are straightforward but lack any rich formatting options like hyperlinks, colors, or images.
Step 6: Enabling HTML Signatures (Optional)
If you would like to create a more complex signature with HTML formatting (for example, if you want to add clickable links, colors, or embed images), ensure that the HTML Signature box is checked. This allows you to use HTML code to design your signature, making it visually appealing and more functional.
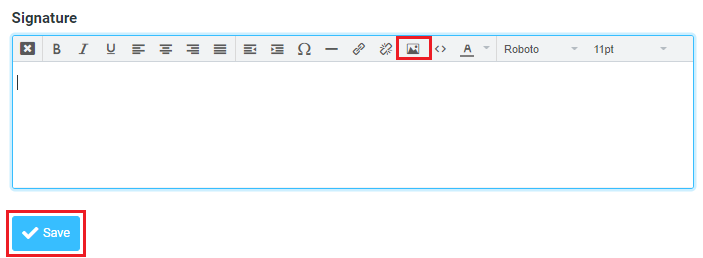
When creating an HTML signature, you can either directly input the HTML code or use the formatting toolbar provided by Roundcube, which appears at the top of the Roundcube Webmail Signatures field. The toolbar makes it easy to format your text without knowing HTML code. This option allows you to make your signature stand out and convey a more polished and professional image.
Step 7: Saving Your Changes
After you have entered your desired signature and made any formatting adjustments, scroll to the bottom of the page and click the Save button. This will store your signature settings and apply them to all future emails you send from that Roundcube Webmail Signatures.
Once saved, your signature will automatically appear at the bottom of every new email you compose, as well as in any replies or forwarded messages (depending on your settings). If you ever need to update or remove the signature, you can return to the Identities section in Roundcube Webmail Signatures and make the necessary changes.
Setting up Roundcube Webmail Signatures is an efficient way to maintain professionalism in your communications while also saving time. Whether you opt for a simple plain-text signature or a more detailed HTML signature with graphics and links, this feature helps ensure your emails consistently include important contact information and personal branding. Following the above steps will allow you to set up a personalized signature that automatically appears in your outgoing messages, streamlining your email process.