To change the DirectAdmin logo via the control panel, system will show the default logo of this panel. But what if you want to change it to your own or your company’s logo to look more professional? In this article, AZDIGI will show you how to change the DirectAdmin logo with a few simple steps using the support features in the new version of DirectAdmin.
You can follow these steps
Step 1: Log in to DirectAdmin as Admin
- Open your web browser and log in to your DirectAdmin control panel with your admin credentials.

Step 2: Access the Skin Manager
- Navigate to
Admin Tools. - Select
Skin Manager.

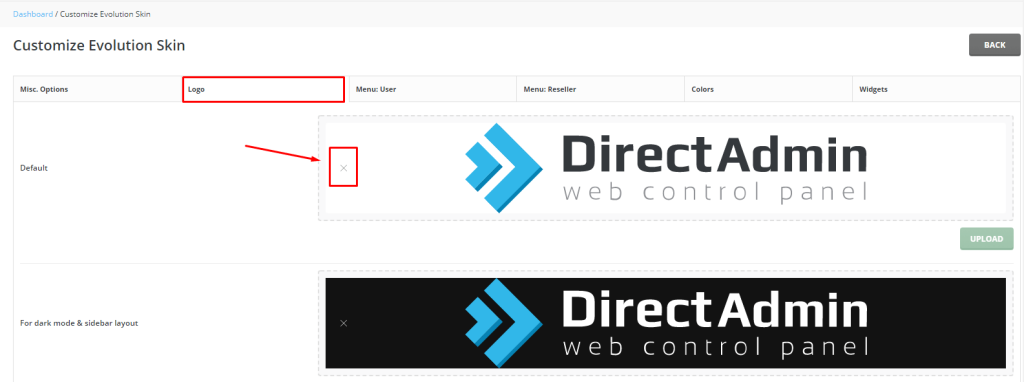
Step 3: Upload Your New Logo
- In the Skin Manager, find and select the skin you are currently using. The default skin is often “Enhanced”.

- Look for the option to upload images or modify the skin.
- Upload your new logo image (usually named
logo.png). Ensure the file name and format match the required specifications.
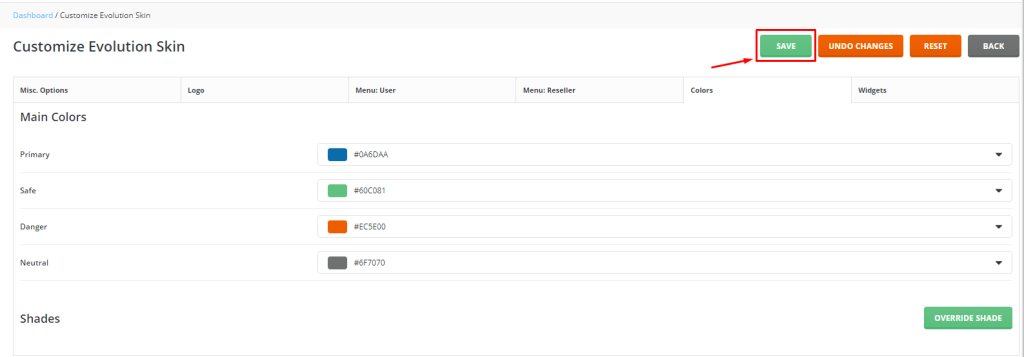
Step 4: Apply Changes
- Save the changes you made in the Skin Manager.

- If there is an option to apply or update the skin, click on it to ensure the changes take effect.
Step 5: Clear Cache
- After uploading the new logo and applying the changes, clear your browser cache to see the updated logo.
Additional Tips
- Ensure your logo is in PNG format and has appropriate dimensions (e.g., 220 x 55 pixels).
- If you are using a custom skin, make sure to upload the logo to the correct skin directory.
By following these steps, you can change the DirectAdmin logo via the control panel without needing to access the server via SSH.

