
Email Routing in DirectAdmin refers to the configuration of how emails are handled for a domain. You can control whether emails for a domain are delivered locally to the server or forwarded to another mail server.
Here’s how you can configure Email Routing in DirectAdmin
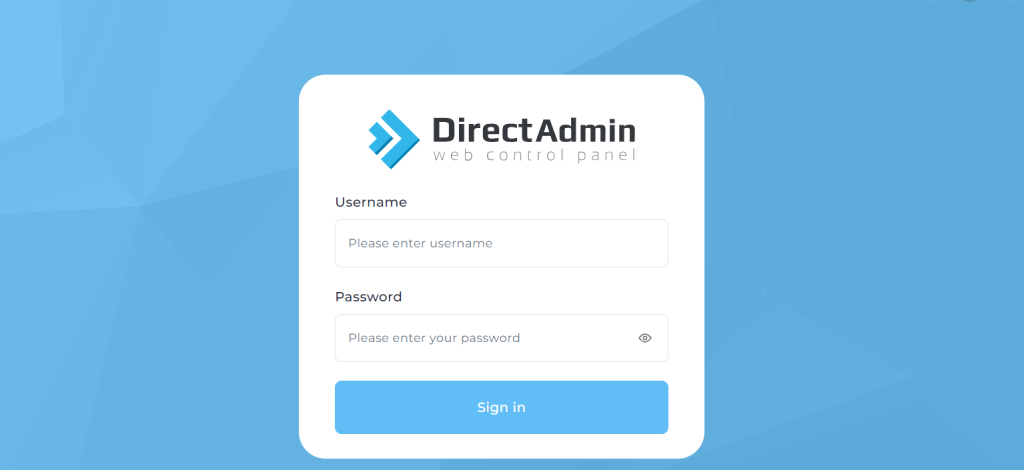
Login to DirectAdmin:
Open your web browser and navigate to your DirectAdmin control panel login page.
Enter your username and password to log in.
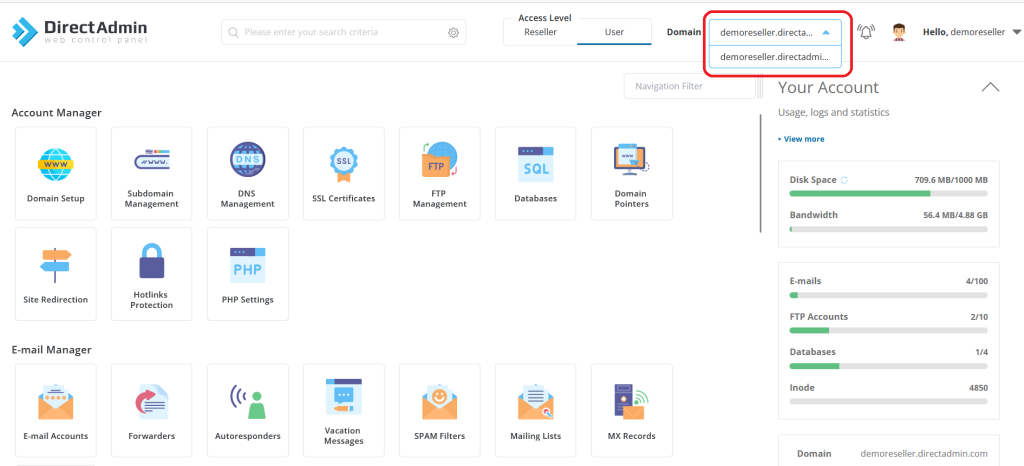
Navigate to “Email Management”:
Once logged in, look for the “Email Management” section for Email Routing in DirectAdmin. This may vary slightly depending on your DirectAdmin theme.

Select the Domain to set Email Routing in DirectAdmin :
In the email management section, locate the domain for which you want to configure email routing.
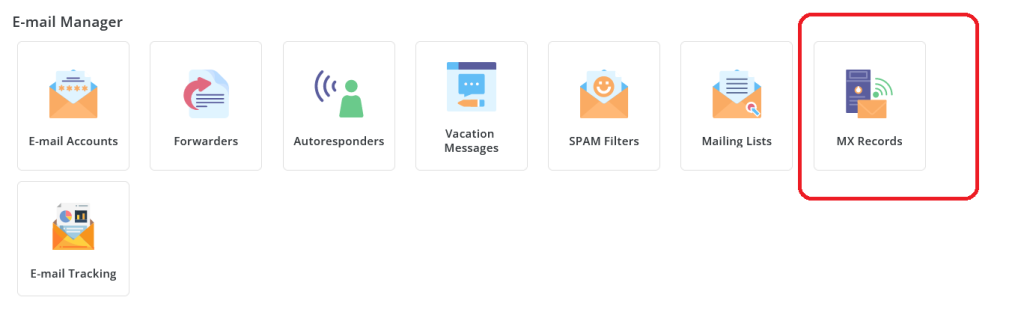
Access MX Records Settings:
Look for an option MX Records in DirectAdmin

Configure Email Routing:
You’ll likely see options such as “MX Template” & “Options”
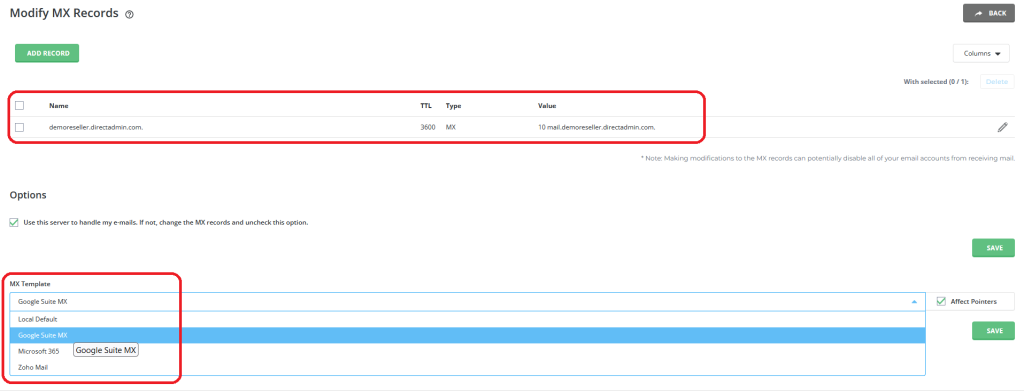
Update MX Records:
You should see existing MX records listed. To update them, modify the values as needed. Typically, you’ll need to provide the mail server’s hostname and priority. The priority is a numerical value, and the lower the number, the higher the priority.
For example: Priority: 10, Mail Server: mail.yourdomain.com
If you use an external email service, then you can use MX Template to update preferred provider default MX records

Please see below the criteria for whether your email routing should be enabled/disabled.
If you have a email service with Web Hosting package:
If you only have a Web Hosting package with Hosting provider and have email accounts through the same service using our web nameservers:
Your email routing setting should be enabled. Tick the option “Use this server to handle my emails. If not, change the MX records and uncheck this option.”
If you have a Web Hosting package with Host but use an external email service:
If you have a Web Hosting package with Host but use an external email service such as GSuite, ZOHO, Office 365, etc. then uncheck the option “Use this server to handle my emails. If not, change the MX records and uncheck this option.” on the Web Hosting account.
Save Changes:
After selecting the desired Email Routing in DirectAdmin, make sure to save your changes.
Verify Settings:
It’s a good practice to verify that the Email Routing in DirectAdmin settings have been applied correctly. You can send a test email to an address associated with the domain and check whether it’s delivered locally or forwarded based on your configuration.

In DirectAdmin, configuring email routing involves managing the way emails are processed for a specific domain. This functionality allows users to determine whether incoming emails for a domain should be delivered locally to the DirectAdmin server or forwarded to an external mail server based on the domain’s DNS MX (Mail Exchange) records. To access email routing settings, users typically log in to the DirectAdmin control panel, navigate to the “Email Management” or similar section, and select the relevant domain. Within the email management interface, there should be an option for configuring email routing, often presenting choices like “Local Mail Exchanger” or “Remote Mail Exchanger.”
Opting for the “Local Mail Exchanger” means that emails are delivered and handled locally on the DirectAdmin server, while selecting “Remote Mail Exchanger” instructs the server to forward emails to an external mail server according to the domain’s MX records. After making the desired selection, users should save the changes to apply the new email routing settings. Verifying the configuration by sending a test email and checking its delivery status ensures that the chosen routing option is functioning as intended. Keep in mind that the precise steps and terminology might vary depending on the DirectAdmin theme and version in use. If users encounter difficulties, consulting DirectAdmin’s official documentation or seeking assistance from their hosting provider is recommended.